skip to main |
skip to sidebar
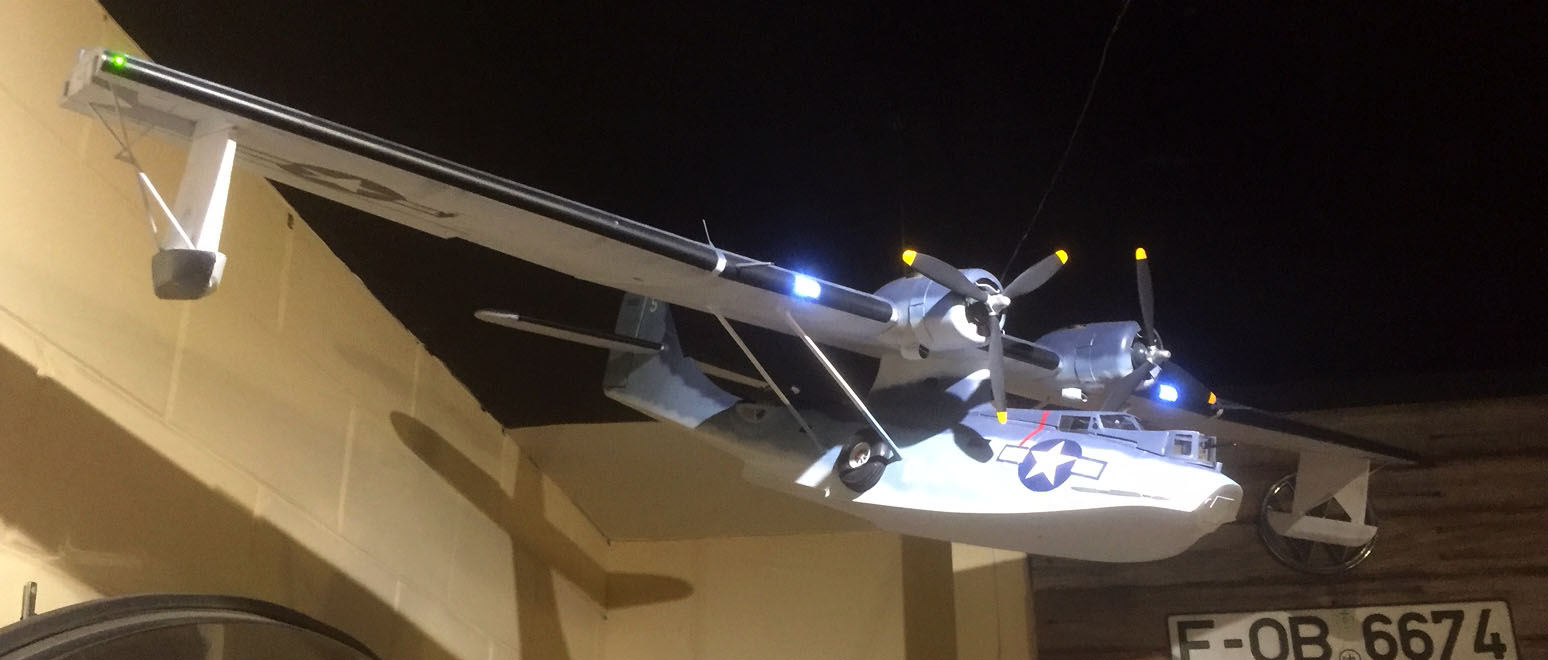
I'm posting this late. I actually finished the PBY before my deadline of 6/18/18. With family visiting (the reason for the deadline) I put off posting anything until now.
I greatly enjoyed seeing this project through to completion. I'm glad I accepted the challenge to put rivets on her. They really add another level of dimension to this project. Figuring out the circuit to let the 4 lights work off one power source is great too! The first photo above shows the breadboard configuration allowing this to work.
I'm going to take better photos. These photos are HORRIBLE. I love the lighting in my garage, but I have a spotlight right on the PBY. In person, it's great. But to an iphone camera it's difficult.
I got the beautiful red propeller warning stripe on the side, and all the lettering and emblems!
In fact, I only need the blisters, light frames, antenna wires and lights hooked up and I'm all done! I've been working on this for.... two years? Longer?
I can't wait to have this done. Frankly, I could hang this up right now and I would be very happy with it. But I'm so close it would be stupid to stop now! I have a smaller project next, the Disney monorail shadowboxes. That will only take a week or two. and THEN... and THEN!!!
5' long Nautilus with real copper sides, functioning oculus portal and lighted interior!
I built a perfectly functioning Vac-U-Form for $12!! Granted, I had all the wood already, the shop vac, screws and the hot glue. I just had to buy a $12 window screen kit for the frame. I ordered a large sheet of thin clear plastic from walmart.com for super cheap, and cut it up into 8 pieces of 12"x12" sheets (thermoform plastic). I set up two pieces of wood on either side of the stove top burner on the oven, set the plastic in the frame on top of the wood, and waited for it to heat up properly. Basically, you turn the burner on high and wait till you think it's sagging enough. (Pro tip: it needs to sag more than you think). The good news? If you screw it up you can probably use the same sheet twice. The first one I pulled a little too early and it didn't get around the seam at the bottom of the blister window sharply enough, so I just did it a second time! I'm very very happy with my results!
I just need to add new headlight frames around the headlights and the upper wing will be COMPLETELY finished! It's about 6' long! A little taller than me! I glued on the freshly airbrushed exhausts and tomorrow I'll cut out the new frames!
Looked up some youtube videos on how to do exhaust on models. Decided to go with a non airbrush method. I think my airbrush would always look like airbrush (millions of tiny dots). Instead I got my old chalky pastels out and brushed them on with a stiff short brush. You can even go in with a good eraser and cut off where it starts. That's key in making it look like the dirt accumulates and starts from behind panel lines. I went a bit too large on the silver paint chipping, but it's a HUGE model, so it's okay. Those two silver wires sticking out of the wing between the engine are hand holds so you can hoist yourself up onto the wing for maintenence. That's why there's so much paint chipping there. There would be a lot of wear and tear where you lift yourself up.
Trying to get the PBY finished by June. I'm finally on the paint step! It's exciting seeing it all come together and see the rivets work! As you can see, I chose the Naval three tone paint scheme for my PBY. I actually think I might be able to get this done by the end of this month!!! Then I can start on my Monorail display project. After the Monorail displays I do the big one.... a 5 foot long scratchbuilt Nautilus! I can't wait!!!
According to the book Maria got me for christmas, you don't make mouths for every letter of the alphabet, you make them to cover the word phonetically. That makes sense! It's also far fewer mouths to make. The hands don't need to be too crazy either. He only needs to hold a bag, open envelopes (which in the Rankin Bass special, the envelopes sort of "fall open") and maybe give vague gestures. I'm going to use the old muppet trick of having one hand pose per camera shot. That way I'm not screwing around trying to make tiny clay fingers move and stay consistent. We'll see how it works... or if it works...