
Max and Jessica got married last saturday.
They chose the greatest wedding cake topper to ever have existed.
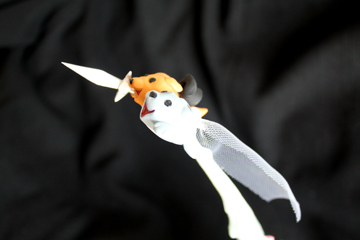


 I like taking a break between illustrations and doing a little quick side project. This one is something I've been wanting to do since Ringling and just never got around to it. I thought it would be funny to sculpt Mr. Peanut disected and displayed like an insect complete with latin labeling and display case. This is the first sculpt I did. It's OKAY.... but it's missing something.
 A closeup of my Tim Burton-esque creation. I think just a simple mouth and no nose will be a bit easier to look at...
 Just thought I'd show the final setup. I cleared off my computer desk (carefully storing my old computer) and just built everything on top.


 Here's the first resin test. I coated it multiple times to build up the ice. It maintains the detail fine, but I don't like the idea of them all in a thin amount of ice. It implies they stood still for 20 years while water dripped and froze on them slowly. I want this to look more like an instant frozen forever in ice.
  This is the thickness of ice that I want. I only sanded a few small areas enough to confirm that you can still see all the detail inside. If you go at this with 80 grain sandpaper and work your way down to 600 grain, I'm relatively confident the detail will show through.
 So now we move on. I've taken the computer off the table and moved everything in order to make space for the 15 inch tall sculpt.
 So I've started work on the second to last illustration. I want this one to be an underground ice cave, most of it cast in clear resin. The sketch up above is still very loose and not a tight sketch at all, but I'm moving forward anyway. I'll deal with composition and pose when I sculpt it (not a good habit at all, but I'm tired of drawing and not sculpting).
 I'm doing something I've never done before, but should have the whole time. I'm scuplting several maquettes to work out the main figure. I also need multiple maquettes to test the resin on. I need to know how the paint will be affected by resin. I need to see which technique will not warp the light so you can still see all the detail. You'll see what I mean when I start posting final test shots. The whole idea is this little eskimo kid and her dog stumble upon this violent frozen scene while exploring an ice cave. I thought it would be funny to have several polar bears attacking a snow-monster for his 'cola' . Now I could have them all frozen in one huge block of ice, but I think that would look a little too cartoony and cheap. That would be the easiest answer as I would only have to put them behind a piece of plexiglass and sculpt icicles around it. But I want to try having them coated in icicles themselves, hoping that they wouldn't be too distorted through the resin to see detail. Anyway! It will all be clear once I get on with this and start posting more photos.

